iPadOS
This section describes how to configure Apple mobile devices for online testing.
Some configurations may be possible through third-party MDM software. If the MDM software is capable of these configurations, this software can be used to configure iPads that will be used to administer online testing. For more information, consult the documentation for the specific MDM software.
Testing Device
A feature in the supported versions of iPadOS, called Assessment Mode, works with the CAI secure browser to lock down an iPad for online testing. Users in the field need to do nothing to set up Assessment Mode. Once the secure browser is launched, Assessment Mode starts automatically. For more information about Assessment Mode, including a list of features it disables, refer to Apple’s Set up iPad and Mac to give tests and assessments.
Removing the Emoji Keyboard
Emojis are characters that express an emotion or represent a facial expression, such as a smile or a frown. Some text messaging apps replace sequences of characters with an emoji, such as replacing “:)” with “ .”
.”
iPadOS has an Emoji keyboard (figure 2). This keyboard, if activated, can be confusing for test takers or scorers. However, the Emoji keyboard should be enabled for the CSA because of its connection to accented characters.
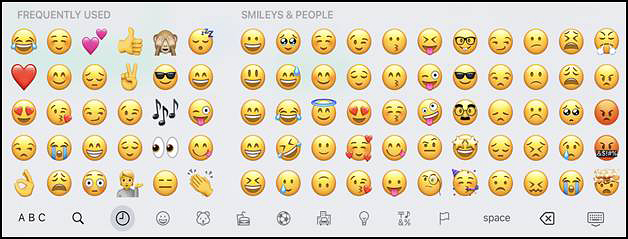
Figure 2. Emoji keyboard for iPadOS
Use the following procedure to remove the Emoji keyboard from an iOS or iPadOS device.
-
Tap the [Settings] icon (figure 3).

Figure 3. [Settings] icon
- Navigate to General ➔ Keyboard.
-
Tap [General] in the left navigation panel (indicated in figure 4).
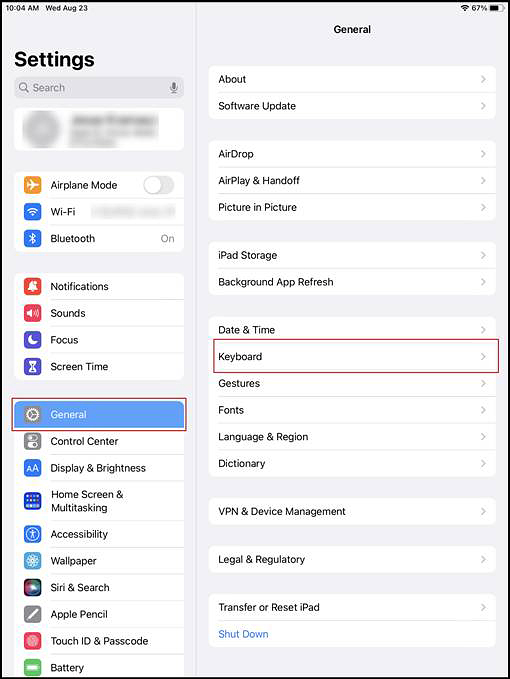
Figure 4. General panel in iPadOS Settings
-
Tap [Keyboards] in the Keyboards panel (figure 5) for the next screen with the emoji settings.
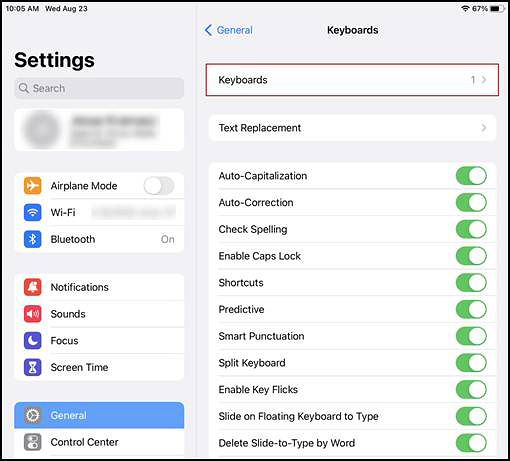
Figure 5. Keyboards panel with all keyboard options in iPadOS Settings
-
Delete Emoji from the list indicated in figure 6 by sliding from the right margin to the left.
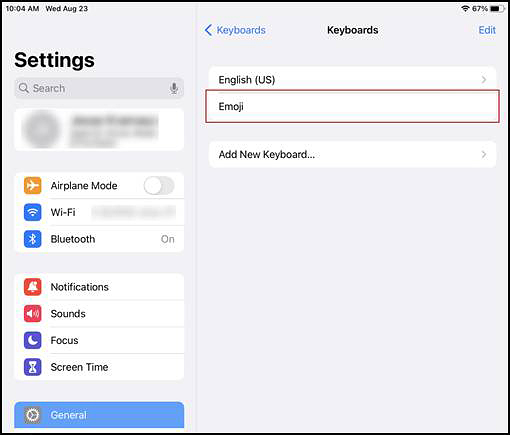
Figure 6. Keyboards panel with only keyboard options in iPadOS Settings
-
Tap the [Delete] icon to disable the Emoji feature (figure 7).
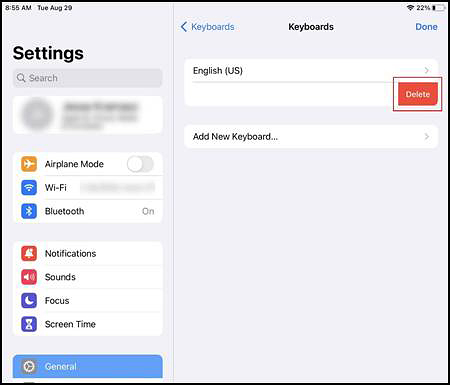
Figure 7. [Delete] button for the Emoji keyboard option
- Close the Settings screen.
Disabling Voice Control
iPads have access to a feature called Voice Control that is not automatically disabled by Assessment Mode. Voice Control allows iPad users to control an iPad using voice commands. If this feature is enabled on iPads that are used for testing, students may be able to access unwanted apps, such as web browsers, during a test.
To disable Voice Control in an Apple mobile device:
-
Tap the [Settings] icon (figure 8).

Figure 8. [Settings] icon
-
Tap [Accessibility] in the left navigation panel (indicated in figure 9).
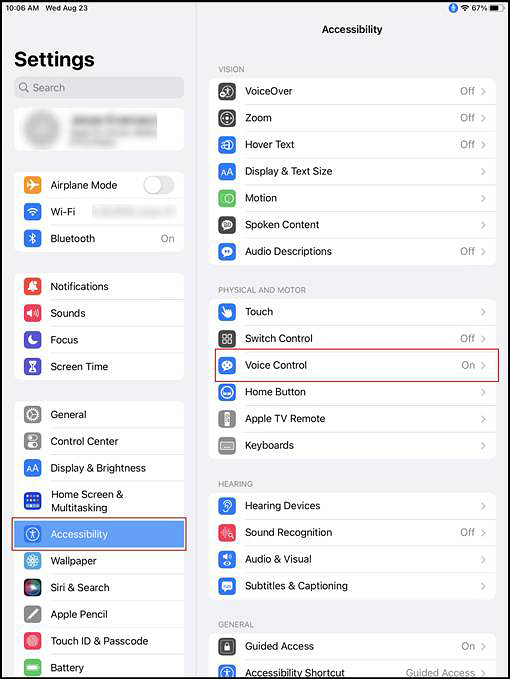
Figure 9. Accessibility settings—Voice Control
- Tap [Voice Control] (also indicated in figure 9).
-
In the Voice Control panel, toggle the Voice Control switch to the left to disable Voice Control (figure 10).
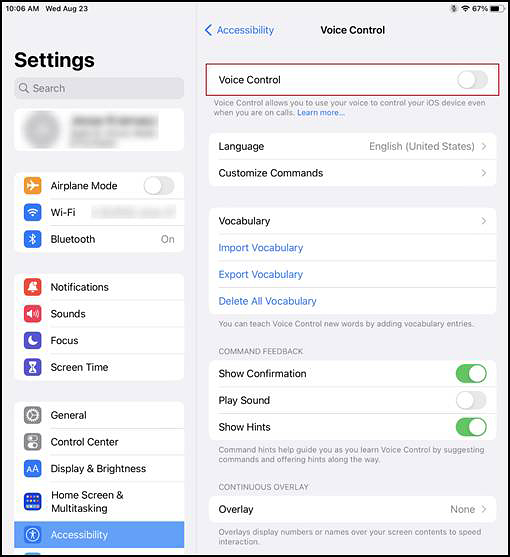
Figure 10. Disabled Voice Control
- Close the Settings screen.
Disabling VoiceOver
iPads have access to a feature called VoiceOver that is not automatically disabled by Assessment Mode. VoiceOver is a gesture-based screen reader that allows users to receive audible descriptions of what is on the screen of their iPad. VoiceOver also changes touchscreen gestures to have different effects and adds additional gestures that allow users to move around the screen and control their iPads. If VoiceOver is not disabled on iPads that are used for testing, students may be able to access unwanted apps during a test. This feature should not be available to students without an accommodation.
To disable VoiceOver in an Apple mobile device:
-
Tap the [Settings] icon (figure 11).
Figure 11. [Settings] icon
-
Tap [Accessibility] in the left navigation panel (indicated in figure 12).
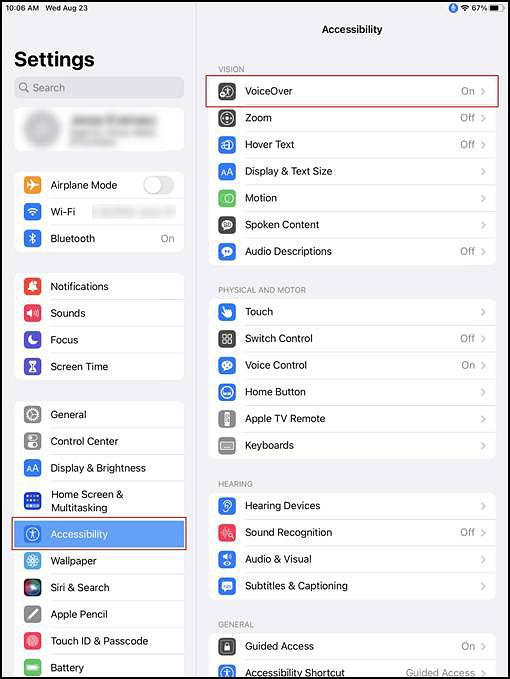
Figure 12. Accessibility settings—VoiceOver
- Tap [VoiceOver] (also indicated in figure 12).
-
Toggle the VoiceOver switch to the left to disable VoiceOver (figure 13).
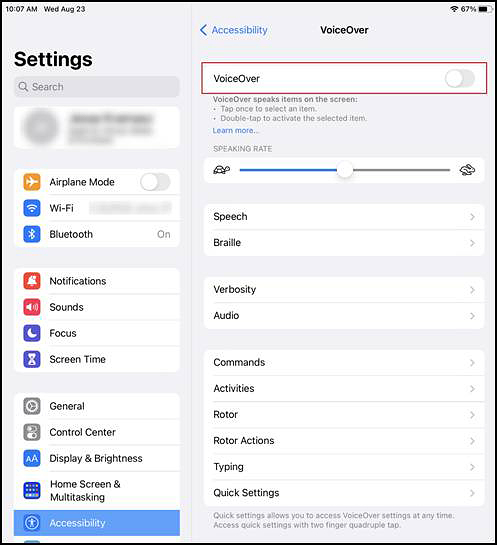
Figure 13. Disabled VoiceOver
- Close the Settings screen.
Secure Browser
Some configurations may be possible through third-party MDM software. If the MDM used is capable of these configurations, it can be used to configure iPads for online testing. For more information, consult the documentation for the specific MDM software.
Installation
This subsection contains instructions for downloading and installing SecureTestBrowser and selecting the state and assessment program. The SecureTestBrowser Mobile Secure Browser for iPads is available from the App Store. The process for installing the secure browser is the same as for any other iPadOS application.
- Navigate to the CAASPP and ELPAC Secure Browsers website by visiting Technology Resources and Secure Browsers and then selecting the [Secure Browsers] link.
- Select the [iPadOS] tab.
-
Select the [Download SecureTestBrowser] button (figure 14). (The user also can search for SecureTestBrowser in the App Store to find the secure browser app.)
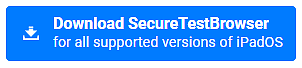
Figure 14. [Download SecureTestBrowser] button
-
The SecureTestBrowser download web page, shown in figure 15, opens.
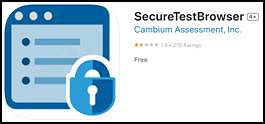
Figure 15. SecureTestBrowser App Store download web page
- Tap the [Download] cloud [
![[Download] cloud icon](/s/tech-specs-and-config/operating-system-configuration/ipados/2025-5e-image078.jpg) ] icon, which is present if the app has been installed previously. The iPad downloads and installs the secure browser, and the button changes to [Open]. (Note that the user must be signed in to the App Store to download SecureTestBrowser.)
] icon, which is present if the app has been installed previously. The iPad downloads and installs the secure browser, and the button changes to [Open]. (Note that the user must be signed in to the App Store to download SecureTestBrowser.) -
After installation, a [SecureTestBrowser] icon like the one shown in figure 16 appears on the iPad’s home screen.

Figure 16. [SecureTestBrowser] icon, iPadOS
- Tap [Open]. The first time the user opens SecureTestBrowser, the Launchpad screen appears. The Launchpad establishes the state and test administration for students.
-
In the Please select your organization or state drop-down list (indicated in figure 17), select California.
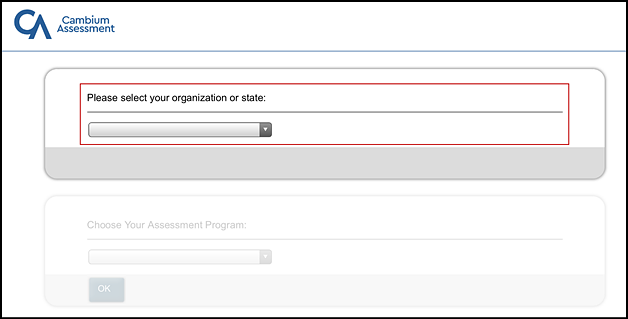
Figure 17. Select the state from the Launchpad
-
In the Choose Your Assessment Program drop-down list (indicated in figure 18), select California Assessment System.
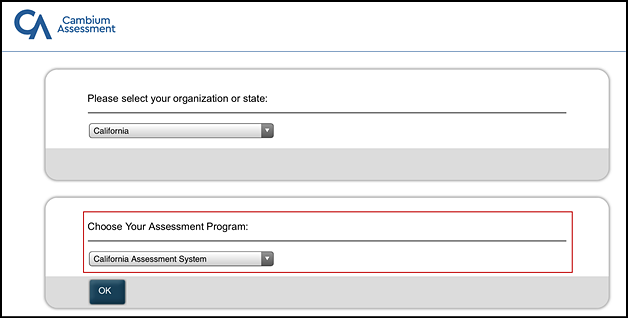
Figure 18. Select the assessment from the Launchpad
- Tap [OK]. The student logon page opens. The secure browser is now ready for students to use.
The Launchpad screen appears only once. The student logon page appears the next time the secure browser is launched.
Uninstallation
To uninstall the SecureTestBrowser app on iPadOS, drag its icon to the Trash.